
Enrollment Support
Login Issues
Portal Usage
To begin the enrollment process, the clinic will have to enroll you. You will receive an email after you are enrolled.
1. Enrolling in Nextgen Patient Portal
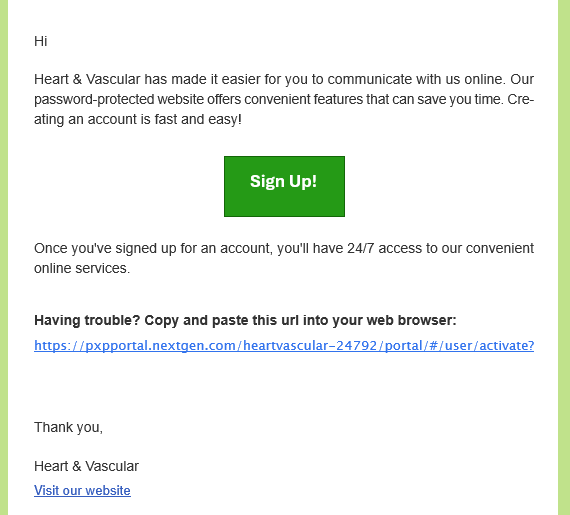
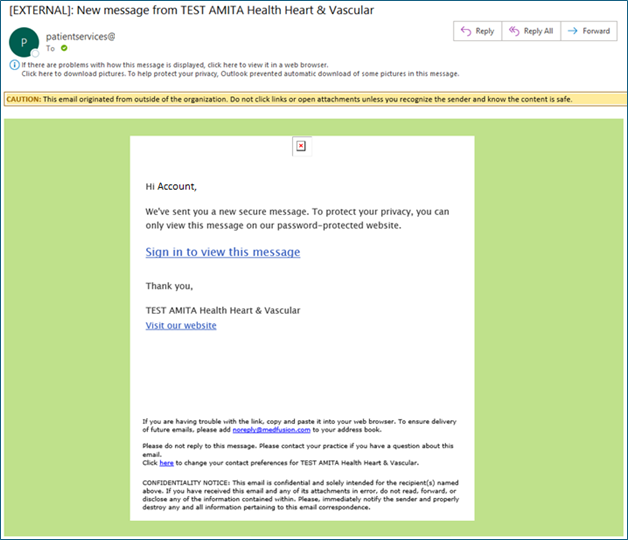
a. Below is an example of an email you will receive.
b. From the Email click the "Sign Up" button.
c. Then follow the instructions to verify your account.
d. After the account is created, the user will receive an email from "noreply@nextgen.com" with the subject listed as "New Member Confirmation".

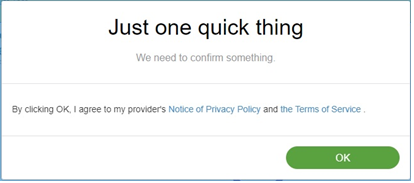
e. Click "OK" to agree to the "Notice of Privacy Policy."
To Access your portal account, click the green "Access Portal" Button Above
1. The following window will open:

a. Enter your Username.
b. Enter your Password.
c. Click the Blue "Sign In" button.
2. If you cannot remember your username and/or password, Click on the "I forgot my username and/or password" hyperlink.
1. I received records from the clinic and am having trouble opening the files, what should I do?
If you are having trouble opening records, you may need to contact the office to resend the specific documents.
2. I can't see my upcoming appointments?
Occasionally appointments do not properly sync in the portal. You can message the office staff to inquire about your future appointments.
3. Where are my past appointments?
The portal site is not designed to display your entire appointment history. The only appointments that will show in the "past appointments" section are the visits which did successfully sync to the portal and the appointment date has since passed.
4. Where are my medications, some of them are missing or lacking dose information?
The Medications module is designed for requesting refills and places emphasis on displaying recent medications and those previously prescribed by the office. The dosage information is not included. You may review the medication list with dosages in the "Health Records" module.
5. How do I enroll to the new portal?
Once the office has your email address and basic demographic information, the system will automatically email you to enroll. If you are not receiving any emails within 24 hours of your last clinic visit, contact the office and confirm your email address on file. If your email address was updated after the enrollment email already went out, then the office will have to reach out to the technical support team to correct it in the portal.
To Retrieve Username navigate to the Access Portal Sign In Page and click the "I forgot my username and/or password" hyperlink.
If your password is not working, navigate to the Access Portal Sign In Page and click the "I forgot my username and/or password" hyperlink.
The following is the Heart & Vascular Portal Home Page:

1. The Portal Home Page contains:
- Appointments.
- Messages.
- Medications.
- Health Record.
- Ask a Question.
- Patient Education.

1. Click Account on the upper right side of the menu, this opens the page where Your Portal Account can be managed:

2. Click the "Security" tab, and then to the right of "Password" Click the "Change" Button

i. Enter your current Password, then enter a new Password, enter your new Password again to confirm it
ii. Then click "Save my changes", this will complete your Password Reset
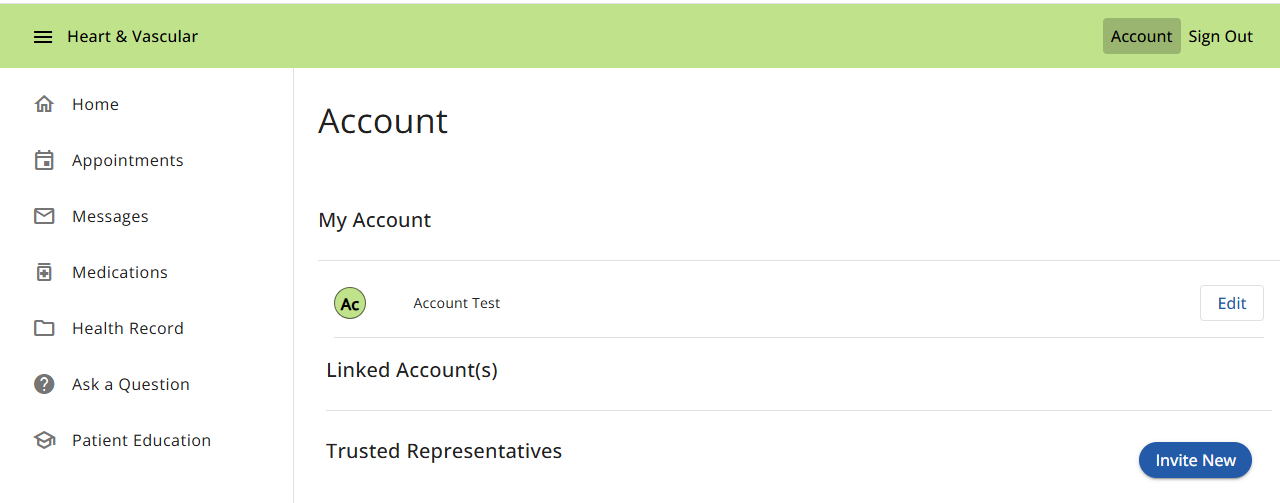
The following shows how to Add a Trusted Representative:
1. Click on your Account on the upper right side
2. Under the Trusted Representative section, click "Invite New"
3. Click "Continue" on the Health Information Authorization Pop Up

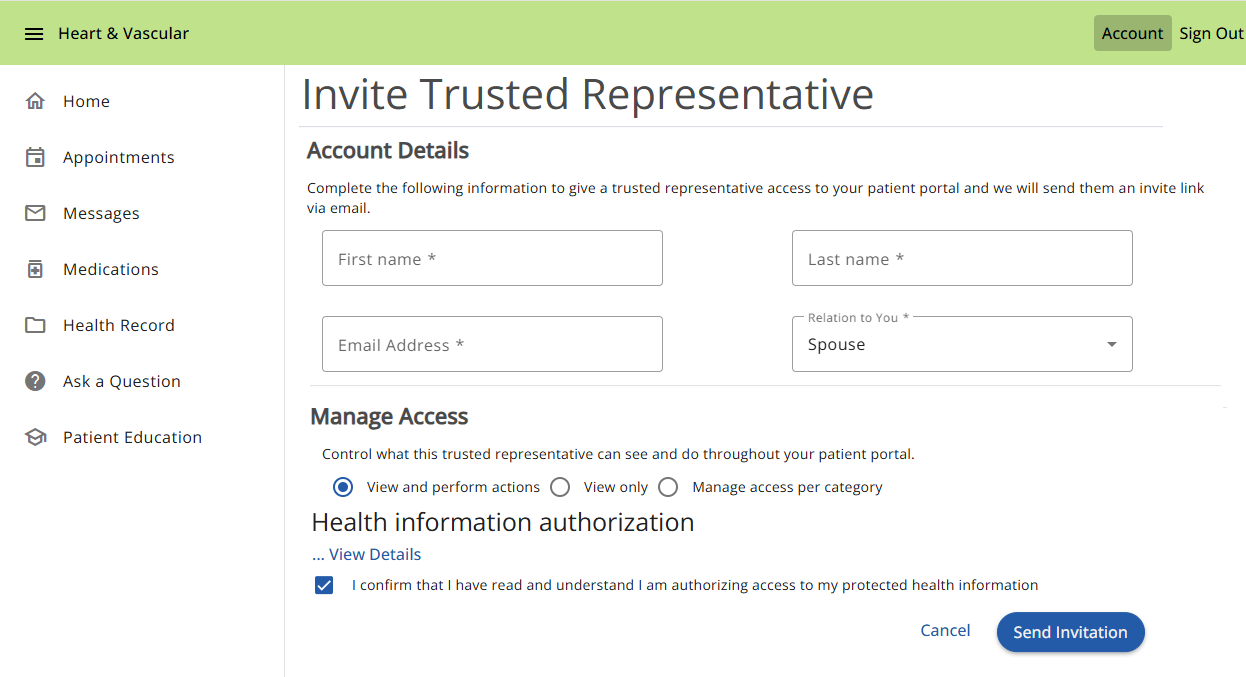
4. Complete the "Invite Trusted Representative" section and Click "Send Invitation"
1. Click Account on the upper right side of the menu, this opens the page where Your Portal Account can be managed:

2. Click the "Edit" Button on the far right, this will display the five (5) tabs used in Managing Your Portal
3. The tabs that will be discussed are:
a. Profile
b. Security
c. Preferences
d. Account Activity
e. Shared Connections
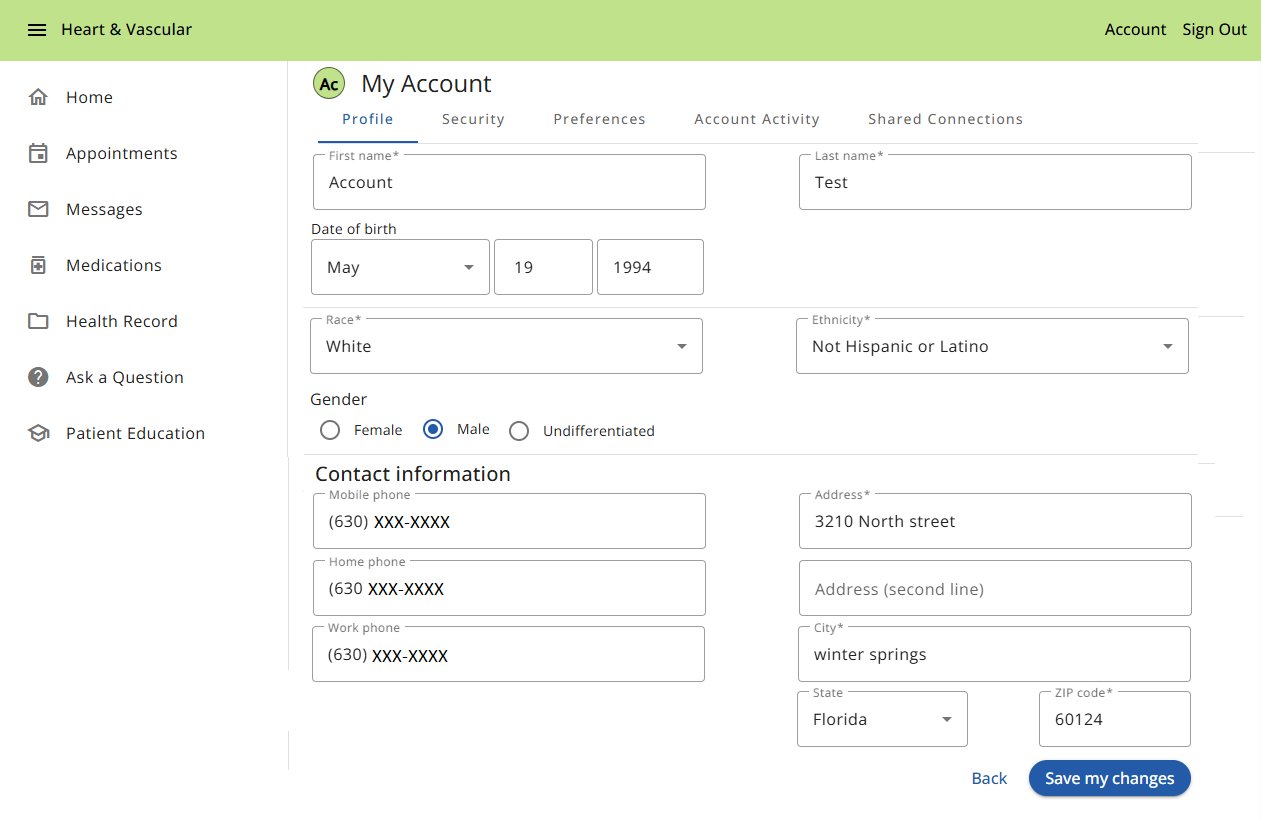
4. "Profile" is the First tab, each field can be edited, and includes:
a. First and Last Name
b. Date of Birth
c. Race and Ethnicity
d. Gender
e. Mobile, Home, and Work Phone numbers
f. Address
g. City, State, and Zip Code
5. If you edit any field, Click the "Save my changes" Button to update the changes
6. "Security" is the Second tab, each field can be edited by clicking "Change", and includes:
a. Email Address

i. Once modified, Click "Save my changes" to update your email
b. Password
i. Once modified, Click "Save my changes" to update your password
c. User Name

i. Once modified, Click "Save my changes" to update your user name
d. Security Question

i. Once modified, Click "Save my changes" to update your security question
7. "Preferences" is the Third tab, each field can be modified, and includes:
a. Preferred Language - Use the drop down to modify
b. Preferred Provider - Use the drop down to modify
c. Preferred Pharmacy - Use the + symbol to modify
d. Communication - Select the method you prefer to receive "General Practice Information" Email or Text

i. Once you have updated your preferences, Click "Save my changes" to update your account
8. "Account Activity" is the Fourth tab
a. This tab will display any activity that has occurred within your Portal Account
i. This includes any "Trusted Representatives" that have Managed Access to your Portal Account
ii. The name of the person accessing the account can be found under the "User" column

9. "Shared Connections" is the Fifth tab

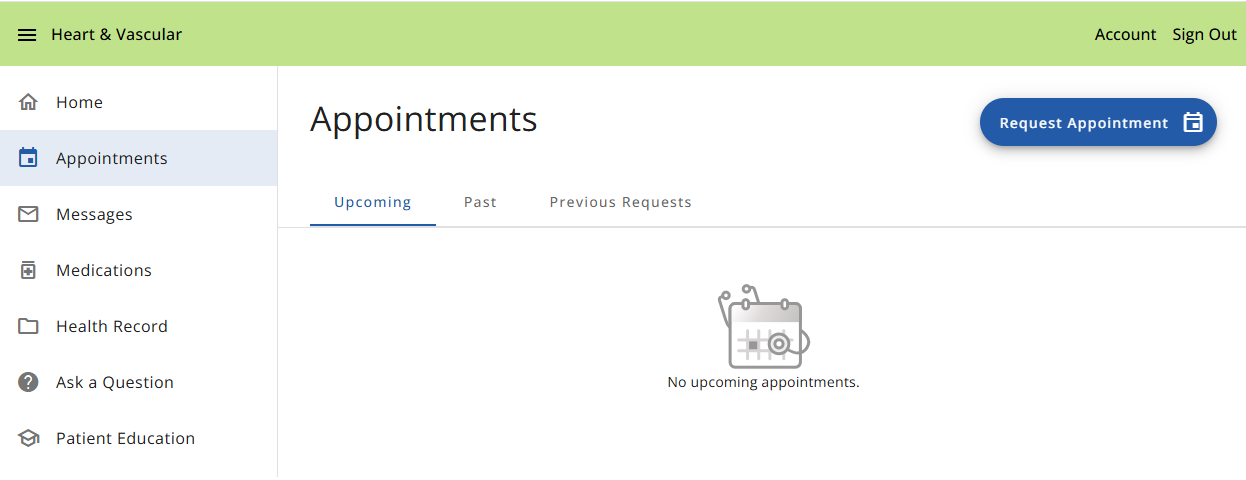
1. The Request an Appointment Page contains:
- Upcoming Appointments
- Past Appointments
- Previous Requests for Appointments
2. To Request an Appointment, Click the "Request Appointment" Button, The following will open:
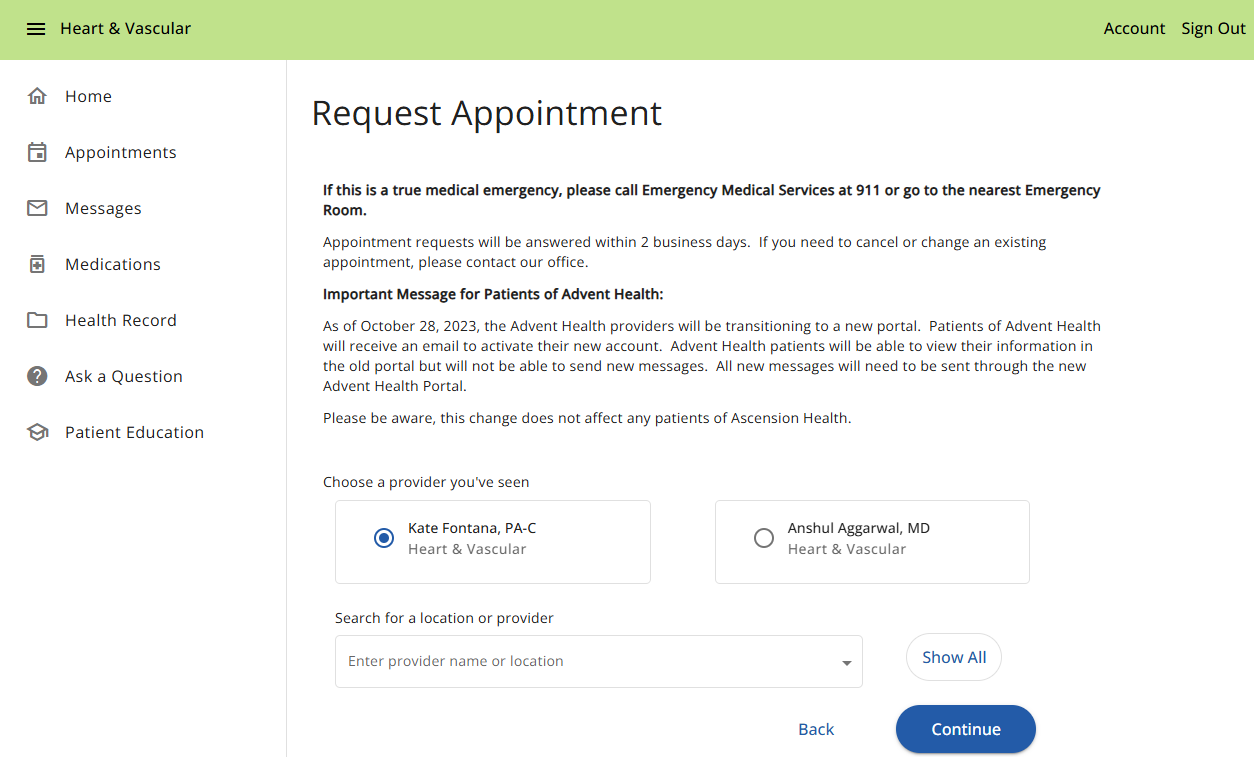
a. Search for your provider using the dropdown, you DO NOT have to select a location
b. Click "Continue"
c. Once selected, assure the radio button to the left of your provider's name is clicked (The map located to the right of your provider is NOT used)

d. Click "Continue"
e. Select "First available time" or:
i. Click "Time(s) of day" (or)
ii. Click "Day(s) of week" (or)
iii. Click "Week"
iv. Complete the "Reason for visit *" section

e. Click "Request Appointment", Your appointment request will be tasked to the secretarial staff of your provider, they will contact you.

f. You will receive an emailed response from your provider's secretary whether the appointment was approved, this process may take up to three (3) business days:
g. The email will also be sent to your portal account message inbox:


1. The Messages Page contains:
- Inbox
- Sent
- Archived
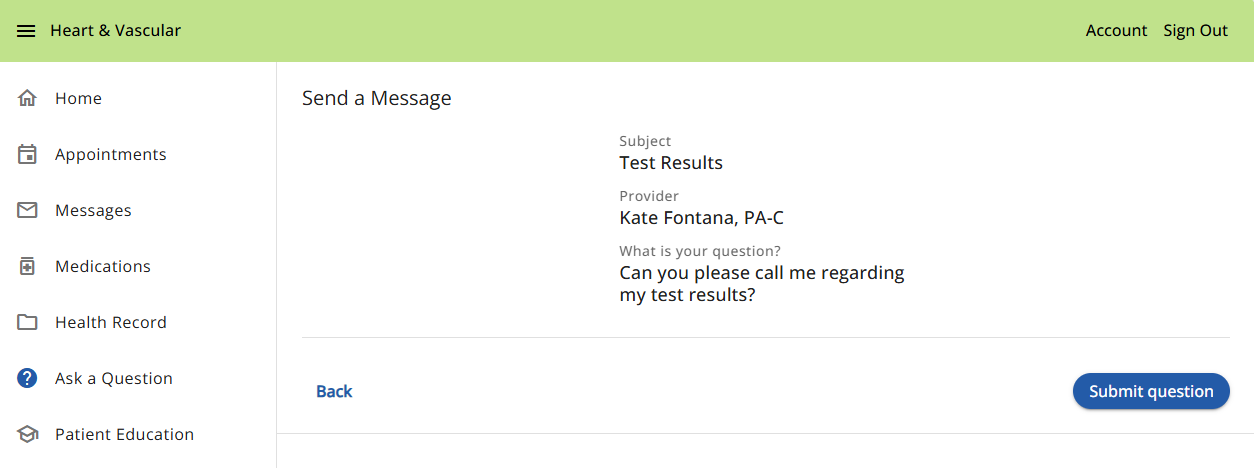
2. To Send a Message, Click the "Ask a Question" Button, The following will open:

a. Click the "Send a Message" Button, The following will open:

b. Enter the Subject of your message in the "Subject*" field
c. From the "Provider"field dropdown, select your Provider
d. Enter your question in the "What is your Question" field
e. To send documentation to your Provider, Click the blue "Choose file" Button, this will open documents found on your computer
i. You can add up to 5 files at a time
ii. The maximum size is 10MB
f. Click "Continue"
g. Then Click "Submit question"
3. If this is a true medical emergency please contact your Emergency Medical Services (911), or go to the nearest Emergency Room.
4. E-mail messages will be answered within 2-3 business days and may be screened by the nurse.
1. The Medications Page contains:
- Active Medications (Current)
- Inactive Medications (Prescribed in the Past)
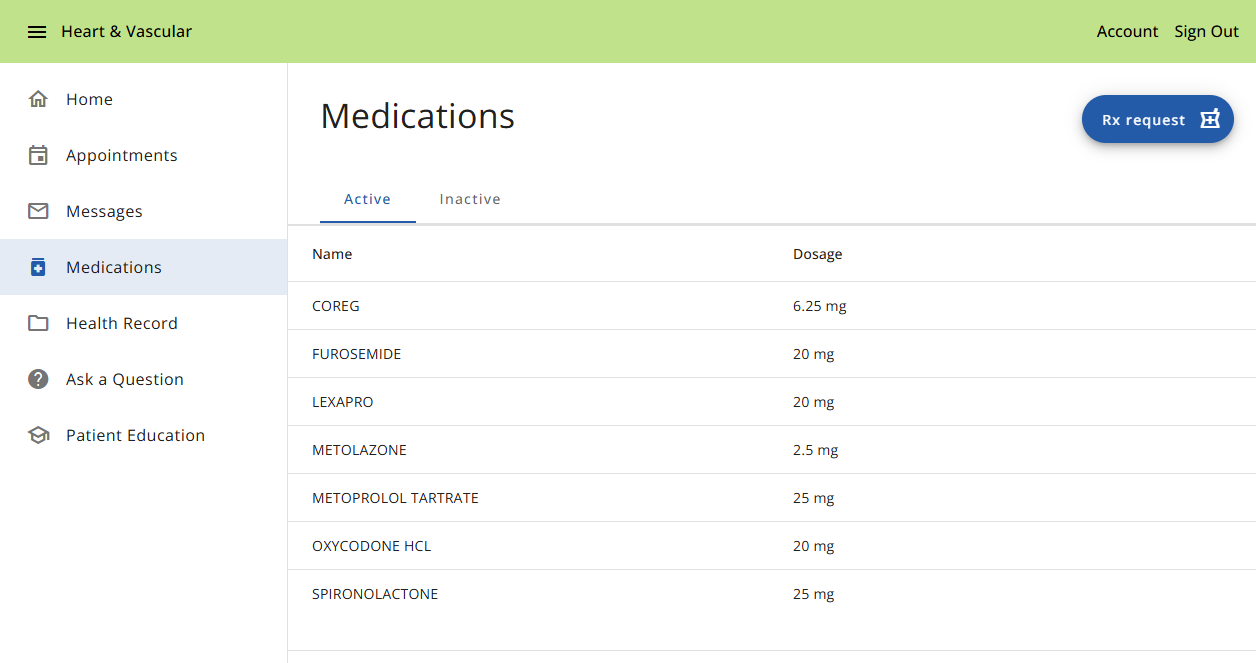
2. To Request a Medication, Click the "Rx request" Button, The following will open:
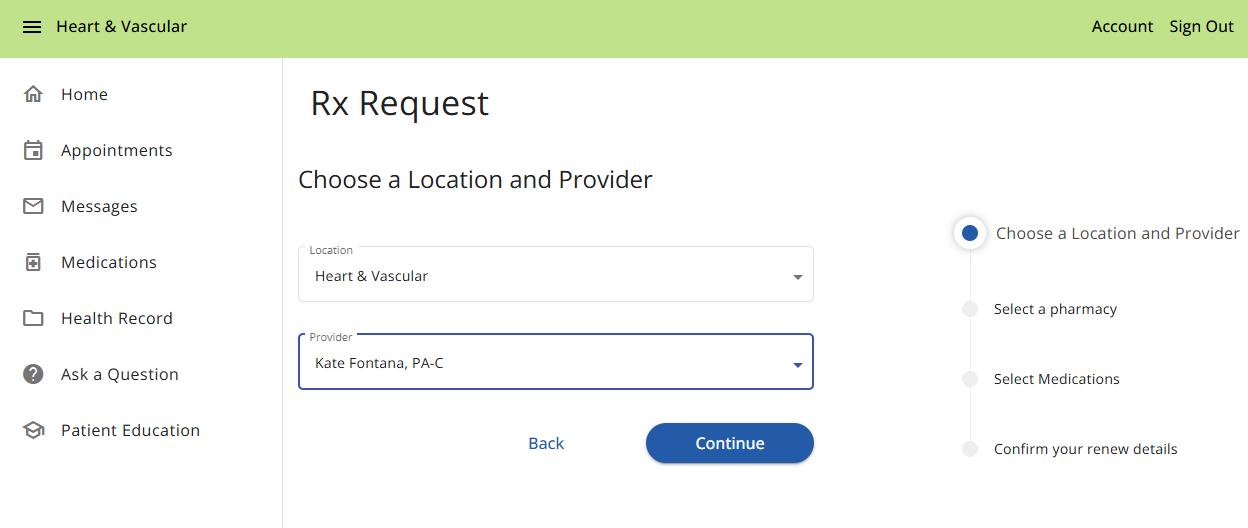
a. From the dropdown, select your provider (You DO NOT have to select a Location) then Click the "Continue" Button, The following will open:

b. The pharmacy will default to the pharmacy we have on file, If you would like to change the pharmacy, Click the "+ Add a Pharmacy" field, once the pharmacy is selected, Click the "Continue" Button, The following will open:

c. Select the Medication(s) from the Medication List and Click the "Continue" Button, The following will open:
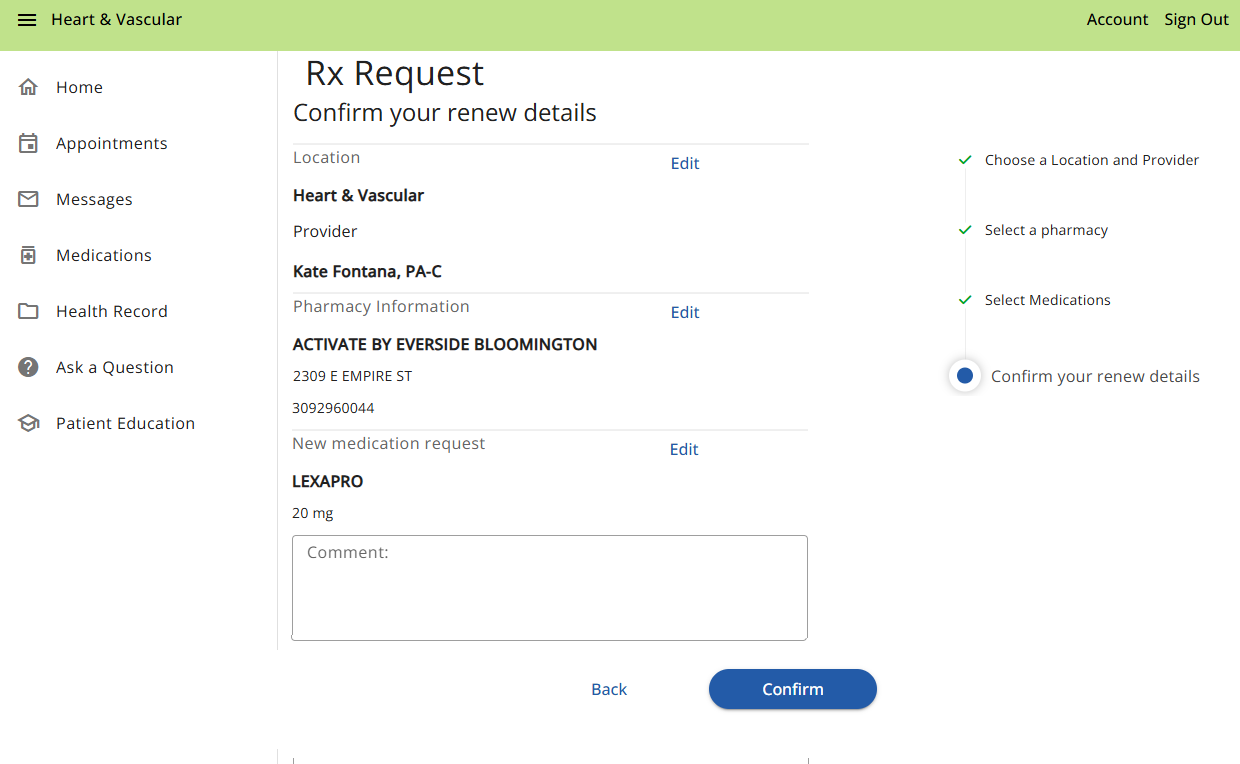
d. Click the "Confirm"Button, once confirmed you will receive the submitted pop up:
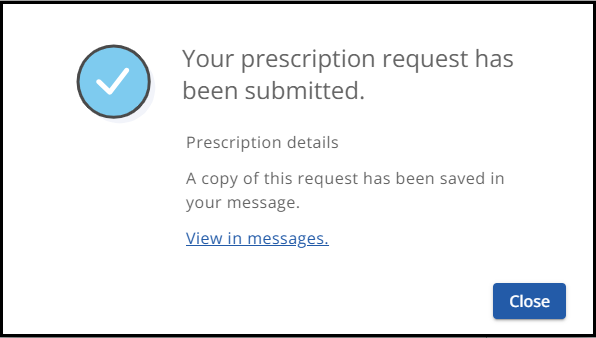
e. Click the "Close" Button to exit Medications
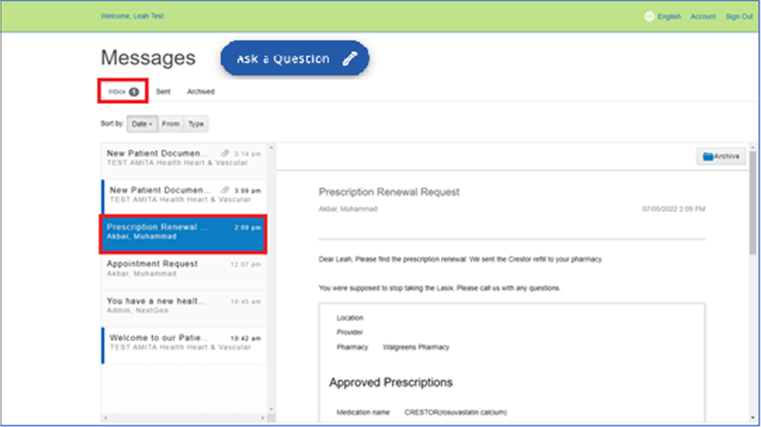
f. You will receive an emailed response from the clinician whether the medication was renewed or denied, Their reply may take up to three (3) business days:

g. The email will also be sent to your portal account message inbox:
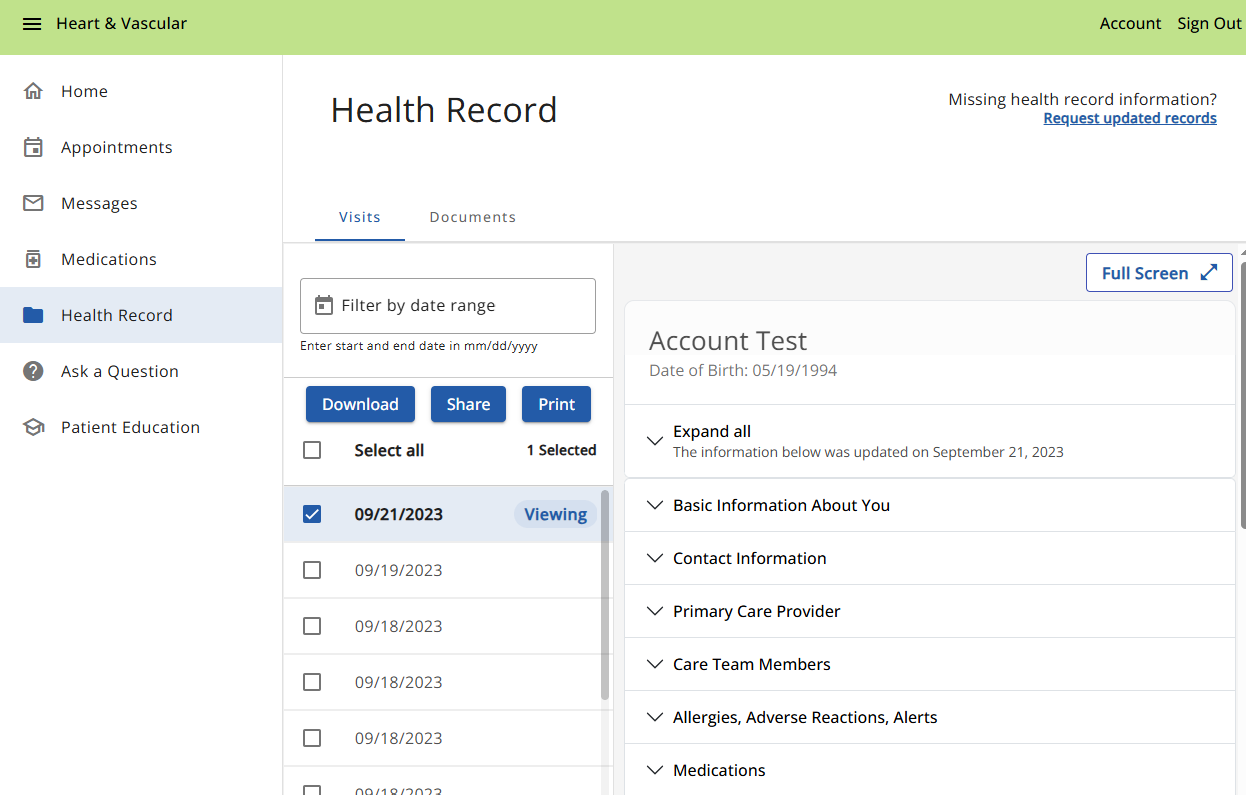
1. The Health Record Page contains:
- Visits (Encounters), which can be:
a. Downloaded - to your computer
b. Shared - via Direct Email or Standard Email
c. Printed
- Documents, which can be
a. Downloaded - to your computer
2. Unread Visits will show a number in red attached to the icon on the home page AND will show bolded and Unread in the Health Record
3. Visits and Documents can be filtered to find a specific date range

4. Each encounter has specific items that happened during the visit, to see each, Click the carrot drop down next to each OR "Expand all" to open all
- Items included are:
a. Basic Information About You, Contact Information, Primary Care Provider, Care Team Members, Allergies, Adverse Reactions,
b. Alerts, Medications, Problems, Procedures, Results, Advance Directives, Encounters, Family History, Immunizations,
c. Payers, Social History, Vital Signs, Chief Complaint And Reason For Visit, Reason For Referral, Plan Of Treatment,
d. History Of Present Illness, Funtional Status, Medications Administered, Instructions, Assessments, Goals, Medical Equipment,
e. Mental Status, Health Concerns, Patient Care Teams, General Status, Review Of Systems, Past Medical History,
f. Discharge Summary Notes, Consultation Notes, History & Physical Notes, Progress Notes.
5. ***PLEASE NOTE: You may not find data in every section***
6. If the practice send a document to your portal Messages, it may show up in your Health Record Documents section before it shows in your Message inbox.
1. Clicking The "Ask a Question" icon, will open the following
a. Click the "Send a Message" Button, The following will open:
b. Enter the Subject of your message in the "Subject*" field
c. From the "Provider"field dropdown, select your Provider
d. Enter your question in the "What is your Question" field
e. To send documentation to your Provider, Click the blue "Choose file" Button, this will open documents found on your computer
- You can add up to 5 files at a time
- The maximum size is 10MB
f. Click "Continue"
g. Then Click "Submit question"
3. If this is a true medical emergency please contact your Emergency Medical Services (911), or go to the nearest Emergency Room.
4. E-mail messages will be answered within 2-3 business days and may be screened by the nurse.
1. Clicking The "Patient Education" icon, will open the following:

a. Next, click the "Launch" Button, The following will open:

2. Launching will bring you to a website (In a separate browser) called "medlineplus.gov"
a. Your condition can be reviewed by searching in the "Search MedlinePlus" field
b. Once entered, Click "GO"
c. The website will display the condition that you searched for
3. If you are experiencing a true medical emergency please contact your Emergency Medical Services (911), or go to the nearest Emergency Room.
The following shows how to reset your password:
1. Click on your Account Name on the upper right side
2. Under My Account Section, click "Edit"
3. From the menu below "My Account", Click "Security", the following will open:
4. Click "Change" to update your password
5. Your password must contain 8-32 characters, include no common words, and fulfill three of the following:
a. one capital letter
b. one lower case letter
c. one number
d. one symbol (&%#@!?)